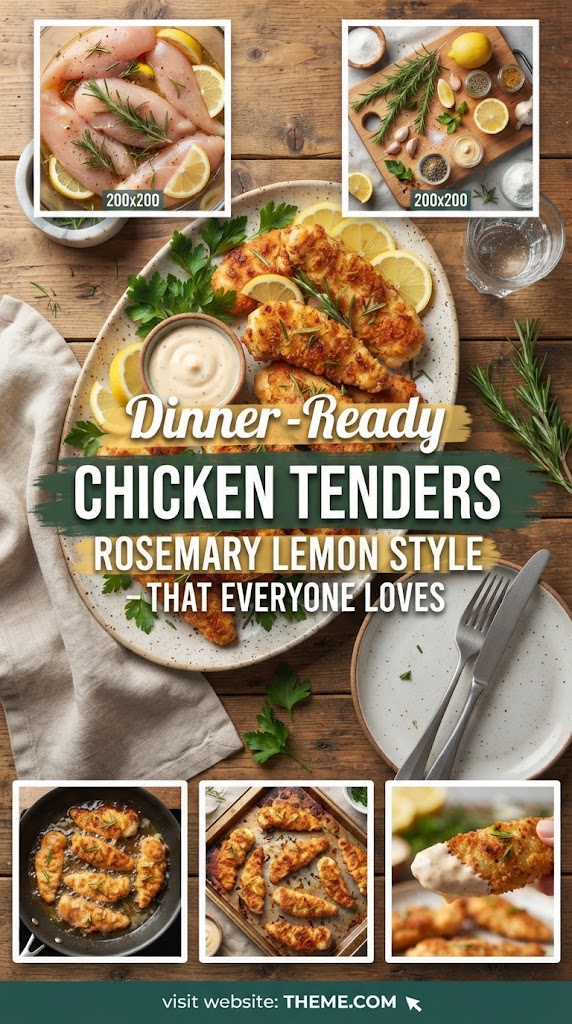
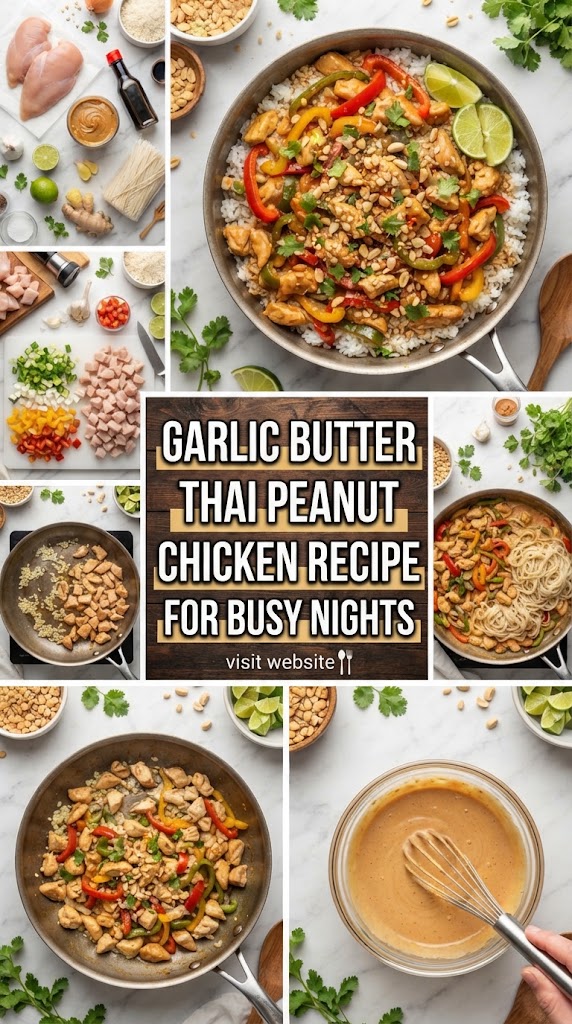
Garlic Butter Thai Peanut Chicken Recipe for Busy Nights
In the fast-paced modern world, the “busy night” is no longer an exception; it is the rule. Between juggling professional responsibilities, family obligations, and the pursuit of a healthy lifestyle, finding the time to prepare a gourmet meal can feel like an impossible task. Enter the Garlic Butter Thai Peanut Chicken. This dish is a culinary marvel that bridges the gap between convenience and luxury. It combines the velvety, rich comfort of western garlic butter with the aromatic, spicy, and nutty profiles of traditional Thai cuisine.
This recipe isn’t just a meal; it’s a strategy for sanity. In less than 30 minutes, you can transform humble chicken breasts or thighs into a restaurant-quality masterpiece that satisfies the soul and nourishes the body.
Why This Recipe is a Weeknight Game Changer
The magic of this Garlic Butter Thai Peanut Chicken lies in its efficiency and flavor density. Most “quick” recipes sacrifice depth of flavor for speed, resulting in bland meals that leave you reaching for the takeout menu. This recipe does the opposite. By leveraging high-impact ingredients like fresh garlic, high-quality peanut butter, and aromatic ginger, we create a complex flavor profile in a fraction of the time.
- One-Pan Wonder: Minimal cleanup is the cornerstone of a successful busy-night meal. This dish requires only one large skillet or wok.
- Balanced Nutrition: You get lean protein from the chicken, healthy fats from the peanut butter and butter, and essential micronutrients from the garlic and ginger.
- Universal Appeal: It’s savory enough for adults and kid-friendly thanks to the familiar, creamy taste of peanuts.
- Customizability: Whether you are Keto, Gluten-Free, or looking to add more vegetables, this recipe serves as a versatile canvas.
The Flavor Profile: A Fusion of East and West
To understand why this dish works, we have to look at the science of flavor.
The Garlic Butter Element: In Western cooking, garlic butter is the gold standard for adding richness and savory depth (umami). Butter provides a fat-soluble medium that carries the pungent, sulfurous notes of garlic throughout the entire dish, coating the chicken in a silky layer of luxury.
The Thai Peanut Element: Thai peanut sauce, or Nam Chim Satay, traditionally relies on a balance of the four pillars of Thai cooking: Sweet (palm sugar/honey), Salty (fish sauce/soy sauce), Sour (lime/tamarind), and Spicy (chili). By merging this with garlic butter, we temper the sharp heat of the Thai spices with the creamy fat of the butter, resulting in a sauce that is bold yet remarkably smooth.
Ingredients: A Deep Dive into Quality
To achieve the best results, every ingredient must serve a purpose. Here is what you will need for the ultimate Garlic Butter Thai Peanut Chicken.
The Protein
- 1.5 lbs Chicken Thighs or Breasts: While breasts are leaner, boneless, skinless chicken thighs are highly recommended for this recipe. They are more forgiving to high-heat cooking and remain juicy even if slightly overcooked.
- Salt and Cracked Black Pepper: Essential for the initial sear.
The Garlic Butter Base
- 3 tbsp Unsalted Butter: Using unsalted butter allows you to control the sodium levels, which is crucial when using soy sauce later.
- 6-8 Cloves of Fresh Garlic: Do not use the pre-minced jars. Freshly minced garlic provides the essential oils that make this dish fragrant.
- 1 tbsp Fresh Grated Ginger: Ginger adds a zingy, peppery heat that cuts through the richness of the peanut butter.
The Thai Peanut Sauce
- 1/2 cup Creamy Peanut Butter: Look for a “natural” variety where the only ingredients are peanuts and salt. This prevents the sauce from becoming cloyingly sweet.
- 1/4 cup Low-Sodium Soy Sauce: Or Tamari for a gluten-free option.
- 1 tbsp Sriracha or Thai Red Curry Paste: Adjust based on your spice tolerance.
- 1 tbsp Honey or Maple Syrup: To balance the salt and spice.
- 1 tbsp Rice Vinegar or Fresh Lime Juice: The acidity is vital for “waking up” the flavors.
- 1/2 cup Warm Water or Coconut Milk: To thin the sauce to your desired consistency. Coconut milk adds a tropical creaminess.
The Garnish (The Secret to Texture)
- Crushed Peanuts: For a necessary crunch.
- Fresh Cilantro: To add a burst of herbal freshness.
- Green Onions: Sliced thin for a mild onion bite.
- Red Chili Flakes: For those who want an extra kick.
Step-by-Step Instructions for Perfection
Phase 1: Prepping the Protein
Start by patting your chicken dry with paper towels. This is a crucial, often overlooked step. Moisture is the enemy of a good sear; if the chicken is wet, it will steam rather than brown. Cut the chicken into bite-sized 1-inch pieces. Season liberally with salt and pepper.
Phase 2: The Searing Process
Heat a large skillet over medium-high heat. Add a splash of neutral oil (like avocado or vegetable oil). Once the pan is shimmering, add the chicken in a single layer. Pro Tip: Do not overcrowd the pan. If necessary, sear the chicken in two batches. Let the chicken sit undisturbed for 2-3 minutes to develop a golden-brown crust (the Maillard reaction). Flip and cook for another 2 minutes until cooked through. Remove the chicken from the pan and set it aside on a plate.
Phase 3: Building the Garlic Butter Foundation
Lower the heat to medium. In the same pan (don’t wash it! those brown bits are flavor gold), add the butter. Once melted and foaming, add the minced garlic and grated ginger. Sauté for about 60 seconds until the garlic is golden but not burnt. The aroma should be intoxicating.
Phase 4: Creating the Peanut Emulsion
In a small bowl, whisk together the peanut butter, soy sauce, Sriracha, honey, rice vinegar, and warm water (or coconut milk). Pour this mixture directly into the skillet with the garlic butter. Use a whisk or a wooden spoon to stir constantly. You will notice the sauce might look “broken” or chunky at first—keep stirring. As the peanut butter melts and emulsifies with the butter and liquids, it will turn into a smooth, glossy glaze.
Phase 5: The Final Merge
Add the cooked chicken (and any juices that collected on the plate) back into the skillet. Toss the chicken thoroughly to ensure every piece is cloaked in the peanut garlic butter sauce. Let it simmer for 1-2 minutes until the sauce thickens and clings to the meat. If the sauce becomes too thick, add a tablespoon of water at a time until you reach your preferred consistency.
Phase 6: Garnishing
Remove from heat immediately. Top with a generous handful of crushed peanuts, sliced green onions, and fresh cilantro. Serve immediately over your base of choice.
Nutritional Powerhouse: Why This Meal is Good for You
While “Garlic Butter” might sound indulgent, this dish is surprisingly balanced when viewed through a nutritional lens.
- Peanut Butter: A fantastic source of monounsaturated fats, which are heart-healthy. It also provides a significant amount of plant-based protein and Vitamin E.
- Garlic: Known for its medicinal properties, garlic contains Allicin, which has been shown to boost the immune system and reduce blood pressure.
- Ginger: A natural anti-inflammatory and digestive aid, ginger adds flavor without adding calories.
- Chicken: A high-quality lean protein essential for muscle repair and satiety.
By controlling the ingredients at home, you avoid the hidden sugars and excessive sodium often found in bottled Thai sauces or restaurant versions.
Masterclass Tips for the Best Thai Peanut Chicken
To elevate this dish from a “good home meal” to a “culinary event,” consider these professional tips:
1. Toast Your Peanuts
Before crushing the peanuts for the garnish, toss them in a dry pan over medium heat for 2 minutes. Toasting releases the oils and intensifies the nutty flavor, providing a much better contrast to the creamy sauce.
2. The Power of Zest
If you want to add an extra layer of brightness, zest half a lime into the peanut sauce before cooking. The citrus oils in the zest provide a floral aroma that lime juice alone cannot achieve.
3. Deglazing the Pan
If you have some dry white wine or even a bit of chicken broth, use a splash to deglaze the pan after searing the chicken but before adding the butter. This lifts the caramelized proteins off the bottom of the pan and integrates them into the sauce.
4. Texture Control
If you prefer a “crunchy” sauce, use extra-crunchy peanut butter instead of creamy. This adds small bits of peanut throughout the entire dish, creating a more rustic texture.
Dietary Variations and Substitutions
We understand that modern kitchens often cater to various dietary needs. Here is how to adapt this recipe:
Low-Carb / Keto Version
This recipe is naturally quite low in carbs, but you can make it strictly Keto by:
- Substituting the honey/maple syrup with a keto-friendly sweetener like liquid Stevia or Monkfruit.
- Ensuring your peanut butter has no added sugar.
- Serving the chicken over cauliflower rice or sautéed zucchini noodles (zoodles) instead of white rice.
Vegan / Vegetarian Transformation
You can enjoy these same flavors without the meat:
- Tofu: Use extra-firm tofu. Press it for 20 minutes to remove moisture, cube it, and sear it until crispy before adding it to the sauce.
- Chickpeas: A can of drained and rinsed chickpeas works beautifully as a protein substitute.
- Butter Swap: Use a high-quality vegan butter or coconut oil to maintain that fatty richness.
Paleo / Grain-Free
- Swap the peanut butter for Almond Butter or Cashew Butter.
- Use Coconut Aminos instead of soy sauce.
- Replace the butter with Ghee or coconut oil.
What to Serve with Garlic Butter Thai Peanut Chicken
Choosing the right side dish can transform this meal. Depending on your mood and dietary goals, here are the best pairings:
- Jasmine Rice: The classic choice. The fragrant, slightly floral aroma of Jasmine rice complements the Thai flavors perfectly. It also acts as a sponge for the extra peanut sauce.
- Rice Noodles: For a “Pad Thai” inspired feel, toss cooked thin rice noodles directly into the pan with the chicken and sauce.
- Quinoa: For an extra protein boost and a nutty texture that mirrors the peanut butter.
- Steamed Broccoli or Bok Choy: The bitterness of dark leafy greens or the crunch of broccoli provides a necessary counterpoint to the rich, sweet sauce.
- Cucumber Salad: A chilled salad of sliced cucumbers, red onions, and rice vinegar provides a cooling effect that balances the spice of the Sriracha.
Storage and Meal Prep Tips
This Garlic Butter Thai Peanut Chicken is an elite candidate for meal prepping. Unlike some chicken dishes that dry out when reheated, the peanut butter sauce acts as a protective barrier, keeping the meat moist.
- Fridge: Store in an airtight container for up to 4 days.
- Freezer: You can freeze this dish for up to 2 months. However, the sauce may thicken significantly upon thawing.
- Reheating: If using a microwave, add a teaspoon of water and cover the dish to create steam. If reheating on the stove, add a splash of coconut milk or water to the pan to loosen the sauce back to its original creamy state.
Troubleshooting Common Issues
Even the simplest recipes can hit a snag. Here’s how to fix common problems:
- The Sauce is Too Salty: This usually happens if you use regular soy sauce instead of low-sodium. Add a squeeze of lime juice or a teaspoon of honey to balance the salt.
- The Sauce is Too Thick: Peanut butter varies by brand. If your sauce looks like paste, whisk in more warm water or coconut milk one tablespoon at a time until it flows like lava.
- The Garlic Burnt: If your heat was too high and the garlic turned dark brown or black, it will taste bitter. Unfortunately, the only fix is to wipe the pan and start the butter/garlic step over. It’s worth the 2-minute delay to avoid ruining the dish.
- The Chicken is Tough: This usually means it was boiled in the sauce rather than seared first. Ensure your pan is hot enough at the start to get that crust.
The Cultural Significance of Thai Peanut Sauce
While this specific recipe is a “fusion” dish, peanut sauce has deep roots in Southeast Asian history. Known as Satay Sauce or Bumbu Kacang, it actually originated in Indonesia and was later adapted into Thai cuisine. Traditionally, it is made with ground roasted peanuts, coconut milk, lemongrass, galangal, and chilies.
By adding garlic butter, we are participating in a long tradition of culinary evolution. Fusion cooking isn’t about diluting culture; it’s about celebrating how different ingredients from around the world can find harmony in a single pan. This recipe honors the bold spirit of Thai spices while embracing the comforting techniques of Western home cooking.
Frequently Asked Questions (FAQ)
Can I use peanut flour instead of peanut butter?
It is not recommended. Peanut flour lacks the fats necessary to create the creamy emulsion that makes this sauce so special. If you must use it, you would need to significantly increase the amount of butter or coconut milk.
Is this dish very spicy?
As written, it has a medium-low heat. The butter and peanut butter do a great job of neutralizing the “burn” of the Sriracha. If you are sensitive to spice, start with half the recommended Sriracha. If you love heat, add a diced Thai Bird’s Eye chili during the garlic sauté phase.
Can I use frozen chicken?
Yes, but ensure it is completely thawed and patted dry before cooking. Frozen chicken releases a lot of water as it thaws, which will prevent the chicken from browning if not handled correctly.
What kind of pan is best?
A heavy-bottomed stainless steel skillet or a cast-iron pan is best for getting a good sear on the chicken. A non-stick pan will work, but you won’t get the same level of caramelization (the “fond”) on the bottom of the pan.
Conclusion: Elevate Your Weeknight Routine
The Garlic Butter Thai Peanut Chicken is more than just a quick fix for a hungry family. It is a testament to the fact that you don’t need hours in the kitchen or a long list of obscure ingredients to create something extraordinary.
By mastering the simple techniques of searing protein and emulsifying a fat-based sauce, you unlock a world of flavor possibilities. This dish hits every sensory note: the aroma of frying garlic, the visual appeal of vibrant green cilantro against deep orange sauce, the crunch of peanuts, and the undeniable satisfaction of a perfectly balanced sweet-and-savory meal.
The next time you find yourself staring at a pack of chicken in the fridge after a long day at work, resist the urge to call for delivery. Grab the peanut butter, melt the butter, and in less time than it takes for a driver to arrive, you’ll be sitting down to a meal that is healthier, cheaper, and infinitely more delicious.
Summary Checklist for Success
- Dry the chicken for a better sear.
- Use fresh garlic and ginger—no substitutions!
- Don’t burn the garlic; keep the heat at medium.
- Whisk the sauce thoroughly to ensure a smooth emulsion.
- Don’t skip the garnish; the peanuts and lime are essential for balance.
Enjoy the process, experiment with the spices, and most importantly, enjoy every bite of your Garlic Butter Thai Peanut Chicken!